DIY Walnut Floating Shelves: Easy Step-by-Step Guide
Imagine walking into a room and seeing the warm glow of a walnut shelf. It adds elegance and beauty. The best part? You can make it yourself.
Creating your own floating shelves is fun and adds style to any room. This guide will help you make your own DIY walnut floating shelves quickly.
Whether you’re new to DIY or experienced, this guide will help you. It makes it easy to get professional-looking results.
Key Takeaways
- Learn how to create beautiful walnut shelves with our easy DIY guide.
- Discover the benefits of using walnut for your shelf project.
- Follow our step-by-step instructions for a successful DIY experience.
- Get tips on how to style your new floating shelves.
- Understand the importance of proper measurement and planning.
Why Choose Walnut for Your Floating Shelves
Walnut is a great choice for your floating shelf project. It offers a timeless and elegant look. Homeowners love walnut wood shelving DIY projects for its durability and beauty.To compare walnut with another popular option, see our guide Walnut vs Oak Floating Shelves: Which Should You Choose?.
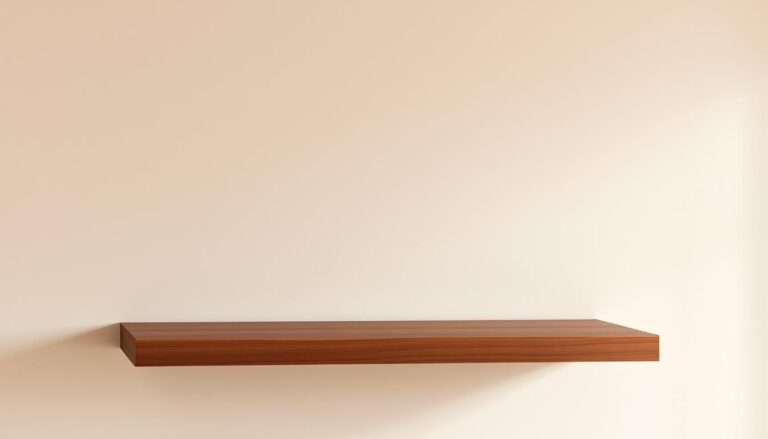
The Timeless Appeal of Walnut Wood
Walnut wood has been loved by woodworkers for centuries. Its dark tones add sophistication to any room. The timeless appeal of walnut wood comes from its versatility and warmth.
“Walnut is a wood that exudes luxury and elegance, making it perfect for floating shelves that need to make a statement.”
Choosing walnut for your shelves makes them a stunning focal point in your home.For a broader overview of styles, sizes, and uses of walnut floating shelves, check out our Ultimate Guide: Walnut Floating Shelves.
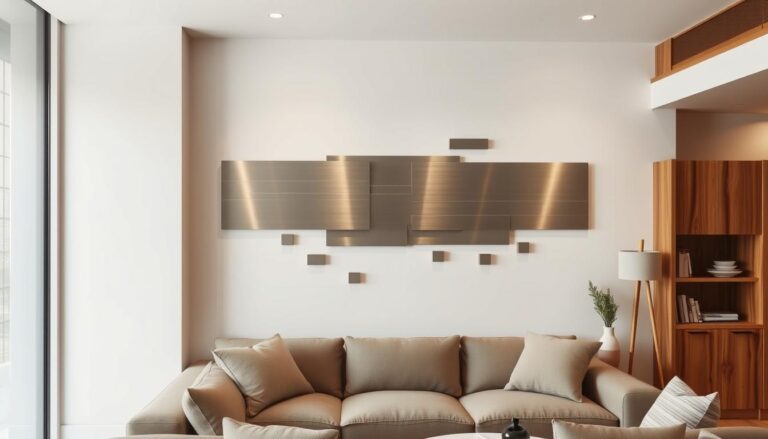
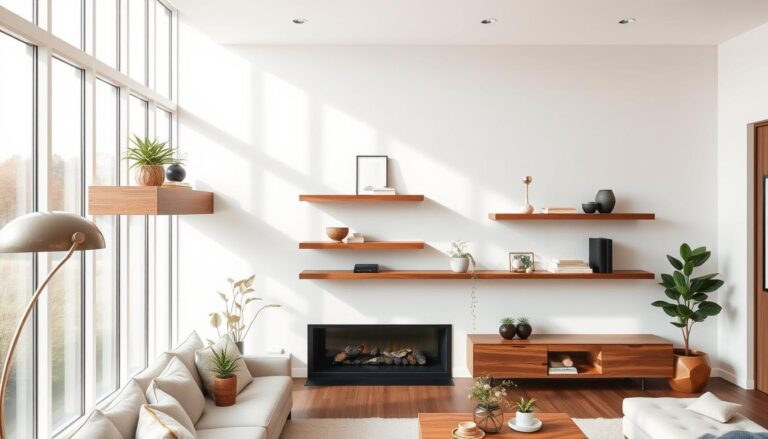
Benefits of Floating Shelves in Modern Design
Floating shelves are key in modern design. They have clean lines and a minimalist look. Walnut adds sophistication to them.
- They create a sense of openness and space.
- They offer a unique display area for decorative items.
- They add warmth with walnut’s natural beauty.
A well-designed walnut shelf can make any room look better. It’s a great DIY project.To discover top-rated options already available, see our 7 Best Walnut Floating Shelves for Stylish Home Décor.
| Benefits | Walnut Wood | Other Woods |
|---|---|---|
| Durability | High | Variable |
| Aesthetic Appeal | High | Variable |
| Cost | Moderate to High | Variable |
Essential Tools and Materials for Your Project
Success in your walnut floating shelves project depends on the right tools and materials. Being well-prepared is key for a smooth DIY experience.
Required Tools Checklist
Before you begin, make sure you have these essential tools:
- Power drill with various drill bits (such as the Bosch 18V cordless drill driver).
- Circular saw or hand saw for cutting wood
- Sander for smoothing out the wood surface
- Drill press for precise drilling
- Measuring tape and level
- Clamps for holding the wood in place
Having these tools ready will make building your walnut floating shelves easier and faster.
Selecting Quality Walnut Wood
Choosing the right walnut wood is crucial for your shelves’ look and durability. Here are some tips:
Identifying Good Walnut Lumber
Look for walnut lumber that is straight-grained and free of knots or cracks.You can find ready-to-use solid walnut lumber on Amazon. The color should be rich and consistent, showing high quality.
Understanding Wood Grades
Walnut wood is graded based on quality and appearance. Clear walnut is the highest grade, with few imperfections. Knowing these grades helps you make a better choice.
Hardware and Additional Materials
You’ll also need hardware and other materials to finish your project. This includes:
- Wall brackets or mounting hardware, such as these Kreg concealed floating shelf brackets
- Screws and anchors
- Wood finish or stain
- Polyurethane for protection
Make sure to pick hardware that fits your walnut wood and supports the weight and size of your shelves.If you prefer ready-made options, check our 7 Best Walnut Floating Shelves on Amazon – Buying Guide.
Planning Your Floating Shelf Project
Planning is crucial in making your DIY walnut shelves. It makes sure they are both useful and look good. A good plan helps you avoid mistakes and makes the project go smoothly.
Determining Shelf Size and Load Capacity
Think about the space and what you’ll use the shelves for when deciding their size. Measure the spot where you’ll put the shelves. Choose dimensions that fit well. Also, think about how much weight the shelves can hold.
| Shelf Length | Recommended Load Capacity |
|---|---|
| 30 inches | 20 pounds |
| 40 inches | 30 pounds |
| 60 inches | 40 pounds |
Measuring and Marking Your Wall Space
Getting your measurements right is key for a good walnut shelf. Use a level to mark straight lines. Also, find the wall studs for strong mounting.

Creating a Detailed Project Plan
Having a detailed plan is important for making walnut shelves. It means drawing your design and figuring out what materials you need.
Sketching Your Design
Begin by drawing your walnut shelf design. Think about the style, size, and material. This helps spot problems and make changes.
Calculating Material Needs
Figure out how much material you need for your design. This includes the walnut wood, brackets, screws, and any finish. Knowing exactly what you need saves money and reduces waste.
Preparing Your Walnut Wood
Preparing your walnut wood is key to making stunning homemade walnut floating shelves. This process includes several important steps. These steps help make sure your shelves look great and last long.
Cutting the Walnut to Size
The first step is cutting the walnut wood to the right size for your shelves. You’ll need a good saw for this. Here are some tips:
- Choose a saw that fits the thickness of your walnut wood.
- Measure carefully to avoid mistakes.
- Use a steady, consistent motion when cutting.
Safety Precautions When Cutting
Always put safety first when using power tools. Wear protective gear, like safety glasses and gloves, to stay safe.
Achieving Clean, Precise Cuts
To get clean cuts, make sure your saw blade is sharp. A dull blade can cause tear-out and a bad finish.
Sanding Techniques for Smooth Finish
After cutting, sanding is the next important step. Sanding smooths out the wood and removes any blemishes. Start with coarse grit sandpaper (about 120 grit) and move to finer grits (220 grit or higher) for a smooth finish.

Edge Treatment Options
You can leave the edges of your walnut shelves as is or add treatments. You can round the edges for a softer look or use a decorative edge profile for a more detailed design.
By carefully preparing your walnut wood, you’ll be on your way to making stunning rustic DIY walnut shelves. They’ll be the talk of the town among walnut shelf tutorial fans.
Building the Floating Shelf Support System
The foundation of a great floating shelf is its support system. We’ll focus on building this in this section. A well-constructed support system makes your DIY walnut floating shelves look good, safe, and durable.
Choosing Between DIY and Store-Bought Brackets
You have two main options for supporting your walnut floating shelves: DIY brackets or store-bought ones. “The choice between DIY and store-bought brackets depends on your skill level, the weight your shelves will bear, and your personal preference,” says a renowned carpentry expert.
DIY brackets are cost-effective and customizable. They let you design to your specific needs. Store-bought brackets are convenient and come with specific weight limits, adding safety.

Creating a Strong Mounting System
Whether you pick DIY or store-bought brackets, a strong mounting system is key. This means attaching the brackets to wall studs to prevent the shelves from tipping or sagging.
- Use high-quality hardware that can support the weight of your shelves and their contents.
- Ensure that your brackets are designed to be mounted into wall studs for maximum support.
- For added stability, consider using multiple brackets or a bracket system that distributes weight evenly.
Safety Considerations for Wall Mounting
Safety is the top priority when mounting your walnut floating shelves. Two key things to think about are weight limits and the type of wall you’re working with.
Weight Limits and Structural Integrity
Always check the weight limit of your brackets. Make sure they can handle the weight of your shelves and what you plan to store on them. Overloading can cause structural failure and accidents.
Working with Different Wall Types
Different walls (drywall, plaster, brick, etc.) need different mounting strategies. For example, mounting shelves on drywall requires finding the studs for a secure hold. Brick walls might need special anchors.
By thinking about these factors, you can ensure a safe and successful walnut shelf installation.
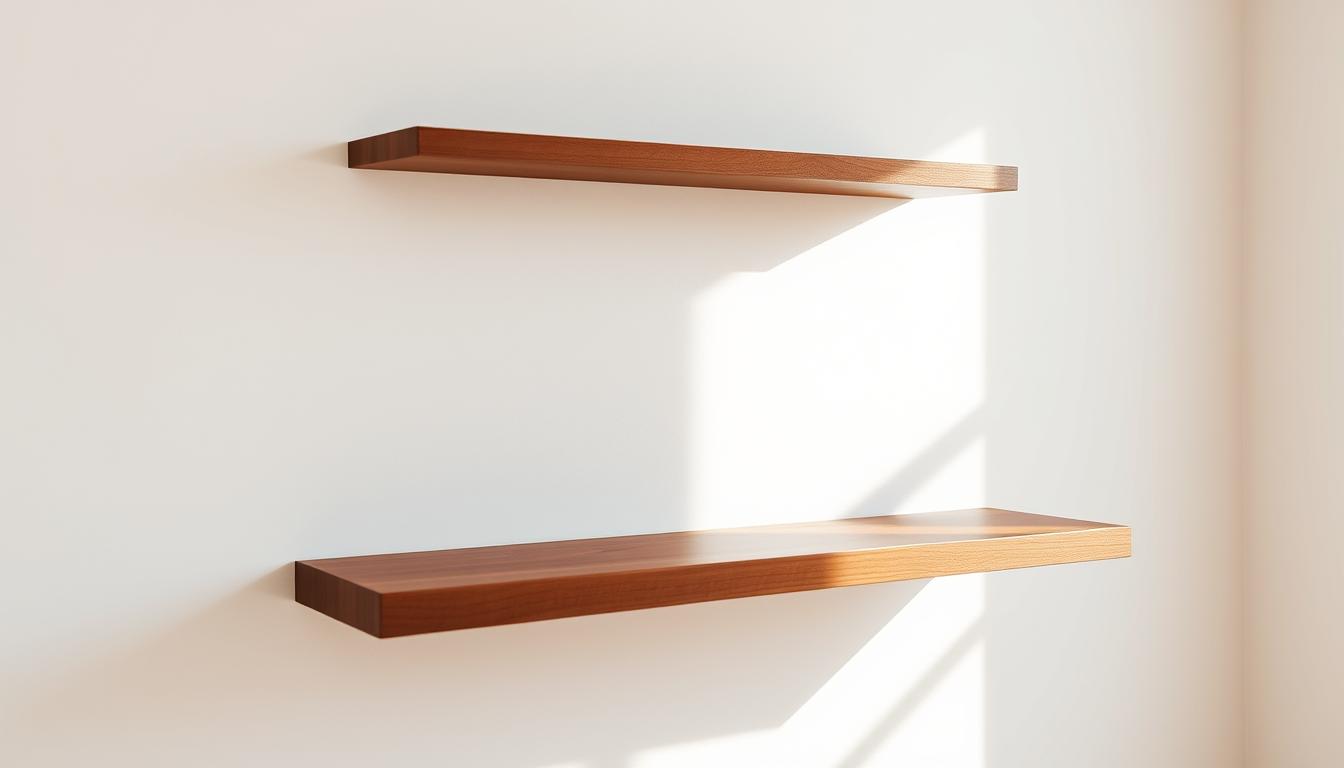
Installing Your DIY Walnut Floating Shelves
Now you’ve got your walnut wood ready and the support system built. It’s time to put in your DIY walnut floating shelves.For more detailed installation techniques, follow our How to Install Walnut Floating Shelves: Step-by-Step Guide. This step needs precision and care for a solid and even installation.

Locating and Marking Wall Studs
Before mounting your brackets, find the wall studs first. Use a stud finder to spot them. Mark the stud spots with a pencil. This is key for a strong hold, as it anchors your brackets into the studs.
Use a level to keep your marks straight. Be gentle when working with plaster or drywall to avoid damage.
Mounting the Bracket System
With studs marked, it’s time to put up the bracket system. Place the bracket against the wall, lining up with your marks. Mark the screw holes with a pencil. Drill pilot holes, then screw the brackets in place with the right screws for your wall.
Make sure the brackets are level and tight. If using more than one, check they’re evenly spaced and aligned.
“Measure twice, cut once, and install with care. A well-installed floating shelf is not just functional but also a testament to your craftsmanship.”
Attaching the Walnut Shelf to Brackets
With brackets in place, attach the walnut shelf. Lift the shelf and slide it onto the brackets. It should fit snugly and be properly seated.
If it doesn’t fit, check the brackets’ alignment and the shelf’s preparation. Make any needed adjustments before finishing.
| Installation Checklist | Yes/No |
|---|---|
| Are the wall studs located and marked? | |
| Are the brackets level and securely fastened? | |
| Is the shelf properly seated on the brackets? |
Ensuring Level and Secure Installation
After installing, check if the shelf is level and securely attached. Make any needed adjustments for a perfect level and firm hold.
Test the shelf by adding weight. This will show if there are any issues with the installation, like sagging or instability.
By following these steps and tips, you’ll get a beautiful and sturdy walnut floating shelf. It will enhance your home’s decor. For more DIY walnut shelves ideas and inspiration, look at different designs and setups for your space.
Finishing and Protecting Your Walnut Shelves
The last step in making your walnut floating shelves is choosing and applying the right finish. This is important because it makes the wood look better and keeps it safe from harm.
Choosing the Right Finish for Walnut
Choosing the right finish for your walnut shelves depends on a few things. These include how you want them to look and how much protection they need. Walnut wood can be finished in many ways, each with its own benefits.
Oil-Based vs. Water-Based Finishes
Oil-based finishes go deeper into the wood, making it look richer and more natural.A popular option is Rubio Monocoat Oil wood finish. Water-based finishes dry quicker and smell less. Think about what your project needs when picking between these two.
Enhancing Walnut’s Natural Color
To keep or make the walnut shelves look better, pick a finish that highlights the wood’s beauty. There are finishes in different sheens, so you can choose how shiny you want them to be.
Application Techniques for Different Finishes
How you apply the finish is as important as what you use. For oil-based finishes, use a clean cloth in the wood grain direction. Water-based finishes work well with a foam brush. Always read the instructions on the product.
| Finish Type | Application Method | Drying Time |
|---|---|---|
| Oil-Based | Cloth, in the direction of the grain | Several hours to overnight |
| Water-Based | Foam brush | Typically faster, often within an hour |
Protecting Your Shelves for Longevity
To keep your walnut shelves looking good, clean them often and avoid harsh chemicals. For extra protection, you can apply wax or a polyurethane topcoat.
By picking and applying the right finish, your walnut floating shelves will last for many years.For inspiration on styling and decorating, explore these 10 Stylish Walnut Floating Shelf Ideas.
Troubleshooting Common Issues with DIY Walnut Floating Shelves
DIY projects like walnut floating shelves can sometimes run into problems. But don’t worry, we’ve got you covered. This section will help you fix common issues like uneven shelves, wood movement, and finish imperfections.
Fixing Uneven or Wobbly Shelves
If your DIY walnut floating shelves are uneven or wobbly, it’s often due to improper bracket installation or uneven wall surfaces. To fix this, check your bracket alignment and ensure they’re securely attached to wall studs. You can use shims to level out the brackets if necessary. Additionally, double-check that your shelf is properly seated on the brackets.
Addressing Wood Movement and Cracking
Wood movement is a natural occurrence due to changes in humidity and temperature. If your walnut shelves are cracking, it might be due to excessive wood movement. To mitigate this, ensure your walnut wood is properly dried and acclimated before construction. Using a wood finish that allows for some flexibility can also help. For existing cracks, you can use a wood filler that matches your walnut finish.
Repairing Finish Imperfections
Finish imperfections can detract from the beauty of your homemade walnut floating shelves. For minor scratches or uneven finishes, you can use a fine-grit sandpaper to smooth out the area and reapply finish as needed. For more significant imperfections, consider stripping the finish and reapplying it. Always follow the manufacturer’s instructions for the chosen finish.
| Issue | Cause | Solution |
|---|---|---|
| Uneven/Wobbly Shelves | Improper bracket installation, uneven wall surfaces | Check bracket alignment, use shims, ensure secure attachment to wall studs |
| Wood Movement/Cracking | Changes in humidity/temperature, improper wood acclimation | Properly dry and acclimate wood, use flexible wood finish, apply wood filler for cracks |
| Finish Imperfections | Minor scratches, uneven application | Sand and reapply finish, strip and reapply for significant imperfections |
Conclusion
Now you’ve learned how to make walnut shelves step by step. You’re ready to make your DIY dream come true. With these ideas, you can turn any room into a cozy and welcoming space.
Walnut shelves are great for adding both style and storage. They make your home more useful and lovely.
By following this guide, you’ve learned how to do it. You know how to prepare the wood and install the shelves. Every step is designed to help you succeed.
Your walnut shelves will make your home look better and be more practical. They’re perfect for showing off your favorite things.
Creating something yourself is truly rewarding. Your walnut shelves show off your skill and care. Enjoy making your ideas real and be proud of your handiwork.